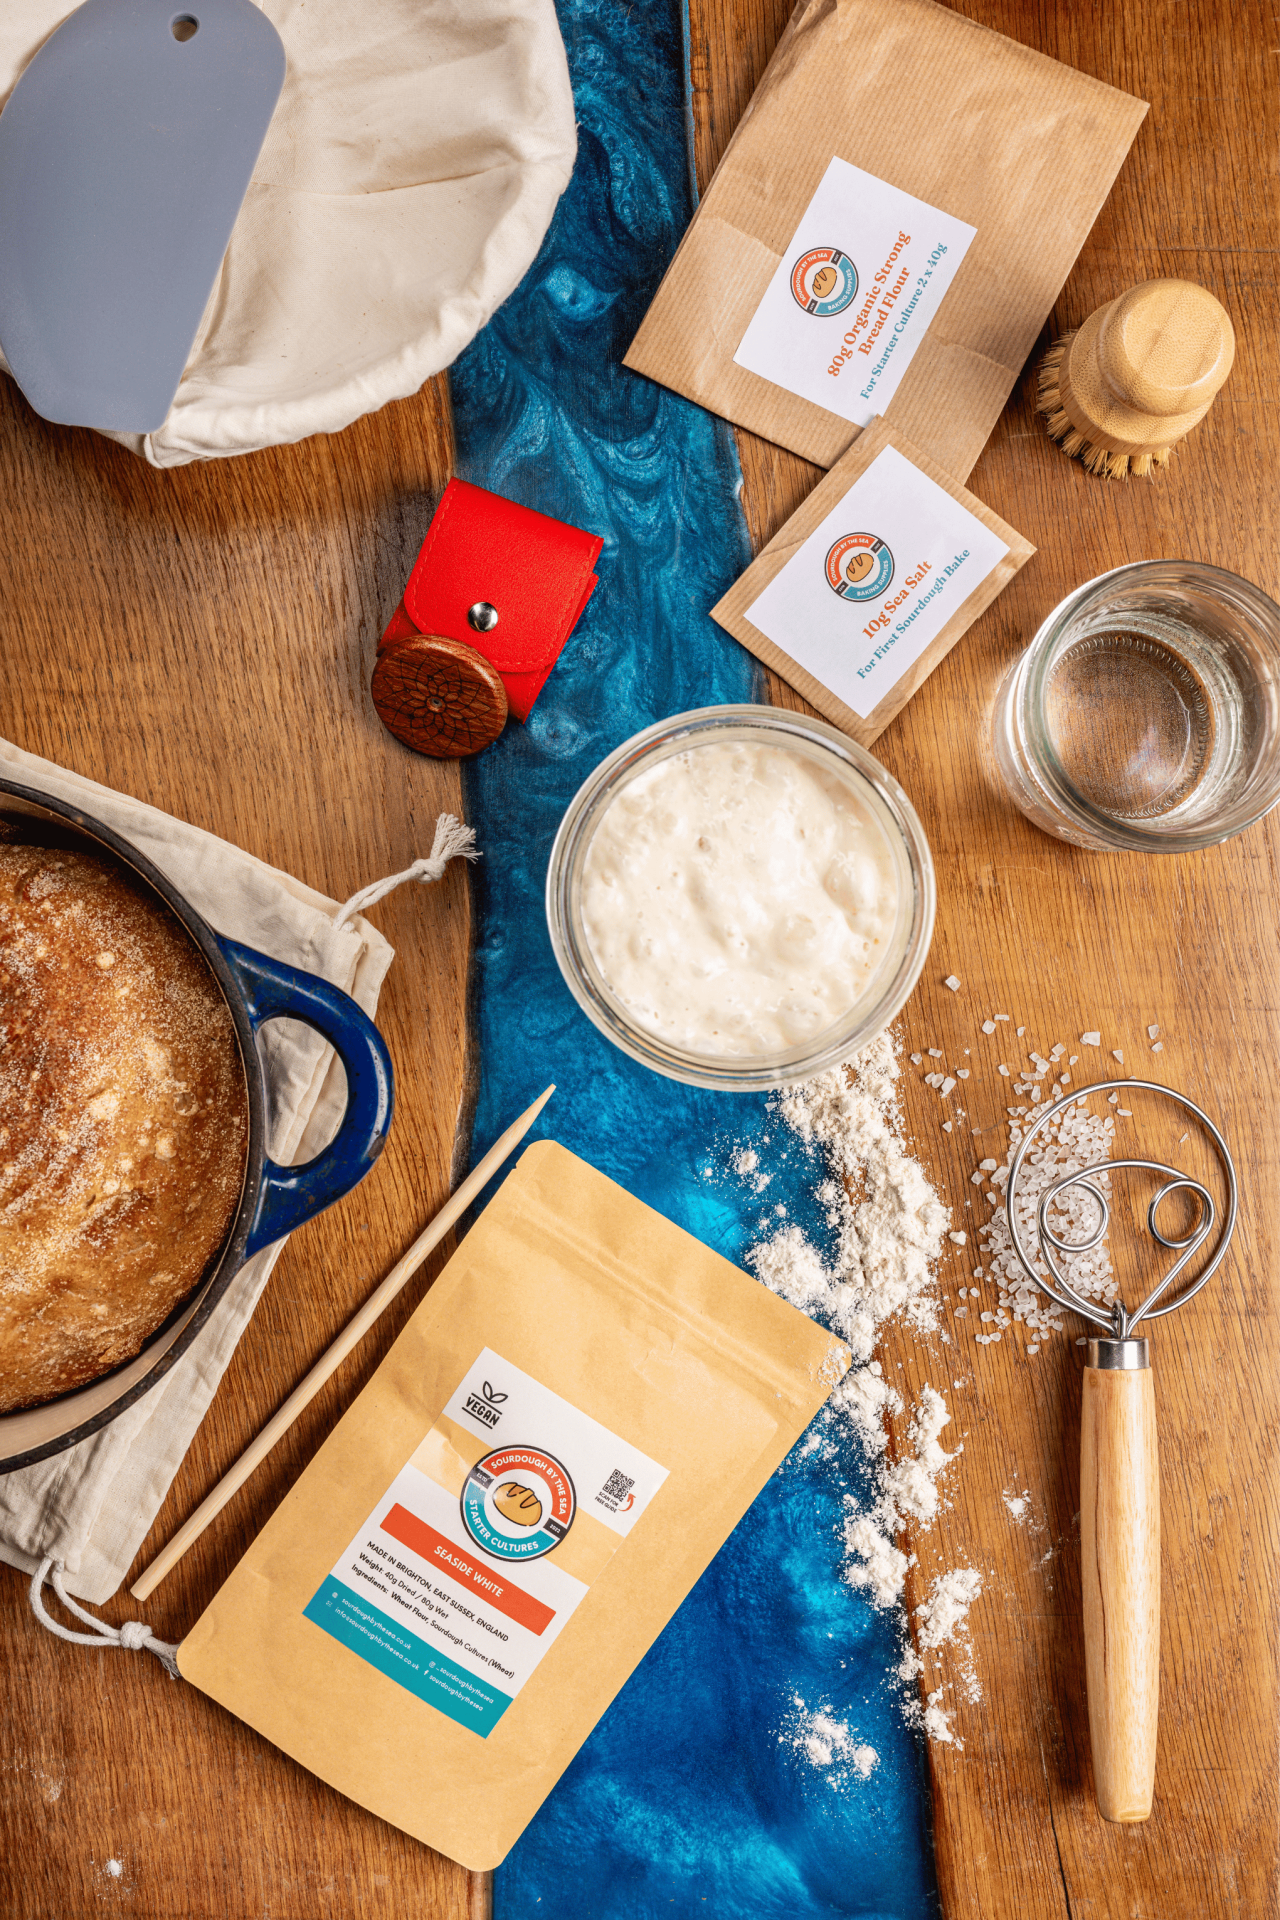
If you’ve ever bitten into a perfectly crusty sourdough loaf with a soft, airy crumb, you know there’s magic in every slice.
Baking artisan sourdough bread at home may seem daunting, but with the right techniques, anyone can achieve bakery-quality results.
In this guide, we’ll walk you through the essential steps and insider tips to create stunning sourdough loaves from the comfort of your kitchen.
What Makes Sourdough “Artisan”?
Artisan sourdough bread is defined by its natural fermentation process, minimal ingredients, and skillful craftsmanship. It’s not just bread; it’s a labor of love. Key characteristics include:
- A crunchy, golden crust
- Irregular holes in the crumb
- A complex, tangy flavor profile
The secret? Mastering time, temperature, and technique.
Step 1: Cultivate a Healthy Starter
A strong, active sourdough starter is the foundation of any artisan loaf. Here’s how to ensure yours thrives:
- Feed Consistently: Maintain a feeding schedule (every 12-24 hours) with equal parts flour and water by weight.
- Watch for Activity: Look for bubbles, a tangy aroma, and a doubling in size within 4-6 hours of feeding.
- Hydration Matters: Aim for a 75-80% hydration starter (ratio of water and flour) for versatile baking.
Pro Tip: Discard starter can be used for pancakes, crackers, and more—no waste here!

Step 2: Perfect Your Dough
Artisan sourdough begins with the perfect dough consistency. Follow these steps for success:
- Use High-Quality Ingredients: Opt for unbleached bread flour and filtered water to enhance flavor and fermentation.
- Hydration Level: For artisan sourdough, aim for 70-80% hydration (700-800g water per 1kg flour).
- Autolyse Method: Mix flour and water first, letting it rest for 30-60 minutes before adding starter and salt. This boosts gluten development.
Pro Tip: Perform a windowpane test to ensure your dough is properly hydrated and elastic.
Step 3: Embrace Stretch and Fold
Kneading isn’t necessary for sourdough; instead, gentle stretch-and-fold techniques develop gluten structure without overworking the dough:
- Gently stretch one side of the dough and fold it over the center.
- Rotate the bowl 90 degrees and repeat.
- Perform 3-4 rounds over the first two hours of bulk fermentation.
Pro Tip: Wet your hands to prevent sticking during folds.
Step 4: Master Bulk Fermentation
Bulk fermentation is where your dough comes to life. Key tips include:
- Time and Temperature: Ferment for 4-6 hours at room temperature (21-23°C/70-74°F) or longer in cooler conditions.
- Observe the Dough: Look for a 50% rise and a bubbly, airy structure.
Pro Tip: Use a clear container to easily monitor dough expansion.
Step 5: Shape Like a Pro
Shaping gives your sourdough its structure and final form:
- Pre-Shape: Gently shape the dough into a round or oblong and let it rest for 20-30 minutes.
- Final Shape: Use firm but gentle motions to create surface tension, ensuring a tight skin.
Pro Tip: Flour your hands and work surface lightly to avoid tearing.

Step 6: Cold Proofing for Flavour
Cold proofing in the refrigerator allows the dough to develop its complex flavor and makes it easier to handle:
- Place the shaped dough in a floured banneton or bowl.
- Cover and refrigerate for 8-12 hours.
Pro Tip: Cold dough is easier to score cleanly for beautiful designs.
Step 7: Achieve the Perfect Bake
The moment of truth: baking your sourdough to golden perfection.
- Preheat Your Oven: Heat to 250°C (475°F) with a Dutch oven or baking stone inside.
- Steam for Crust: Add steam by baking inside a covered Dutch oven or placing a tray of water in the oven.
- Bake in Stages: Start with 20 minutes at high heat (with steam), then reduce to 220°C (425°F) for the remaining 20-25 minutes.
Pro Tip: Tap the bottom of the loaf after baking; a hollow sound means it’s done.
Common Challenges and How to Overcome Them
- Flat Loaf: Check your starter’s activity and proofing time.
- Dense Crumb: Increase hydration or bulk fermentation time.
- Burnt Crust: Reduce the baking temperature slightly or use parchment paper.
Elevate Your Artisan Sourdough Skills
To take your sourdough baking to the next level, consider:
- Experimenting with add-ins like seeds, nuts, or dried fruit.
- Trying advanced scoring designs for Instagram-worthy loaves.
- Joining sourdough baking communities for tips and inspiration.
Finally
Artisan sourdough baking is as much about the journey as the destination. With patience, practice, and the techniques outlined here, you’ll soon be enjoying bakery-quality loaves fresh from your own oven. Share your successes (and your learning moments!) with fellow sourdough enthusiasts and keep the tradition alive.